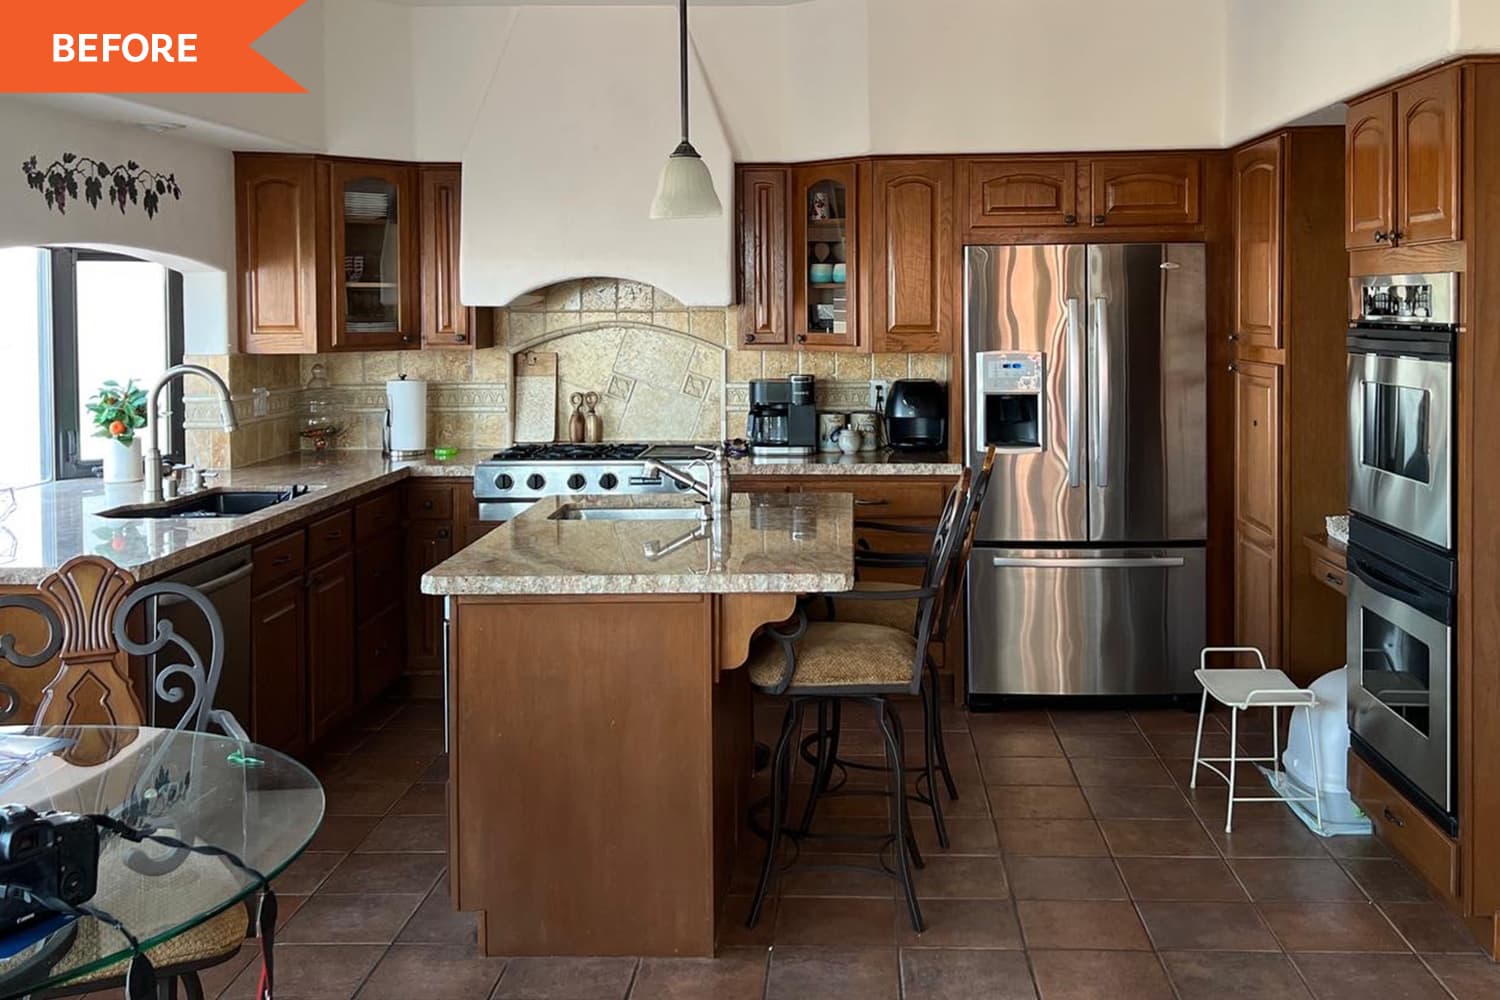
Kitchen cabinet colors shift with seasons, ranging from white and grayish-green to navy, pink, and red. Painting cabinets can refresh a kitchen while staying on trend. Cabinet doors and hinges should be removed and labeled so reassembly matches original placement. Surfaces need de-glossing before painting, including both doors and cabinet framework, using a deglosser and sponge. Painting requires careful taping and masking around surrounding surfaces, especially when using a sprayer to avoid streaks. If the final color is not as expected, repainting is recommended, and testing multiple colors beforehand helps prevent repeated work. A renovation aimed to highlight existing tile backsplash and tile floors while updating grainy orange wood cabinets and dated decor.
"“First, number each hinge and door as you remove them so you'll know where everything goes when it's time to put them back. Second, once you're painting, try to use a paint sprayer to achieve a streak-free finish. And third, don't be afraid to repaint if the color didn't come out exactly as you'd envisioned - in fact, it's best to test a few colors beforehand so you don't have to do this.”"
"“The first step was to remove all the cabinet doors and de-gloss them for the painting process,” Drew says. “This process is straightforward, but time-consuming.” (Again, numbering the hinges and doors was well worth the extra time it took, according to Drew.) He also had to de-gloss the cabinet framework prior to painting; he used Jasco's Easy Liquid Sander Deglosser and a sponge for this."
"“Next was the actual painting process, which required about six hours of taping and masking,” Drew recalls. “Because he was using a sprayer, he cautiously taped every surrounding surface.”"
Read at Apartment Therapy
Unable to calculate read time
Collection
[
|
...
]